Actually, I've never inserted a zipper at all. I had to look in Vera's manual to see which of her feet was the correct one for inserting zippers. Sad day. I know.
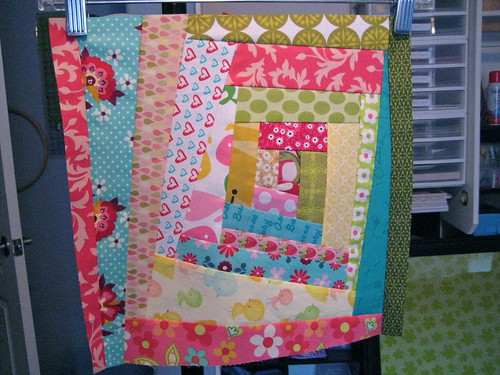
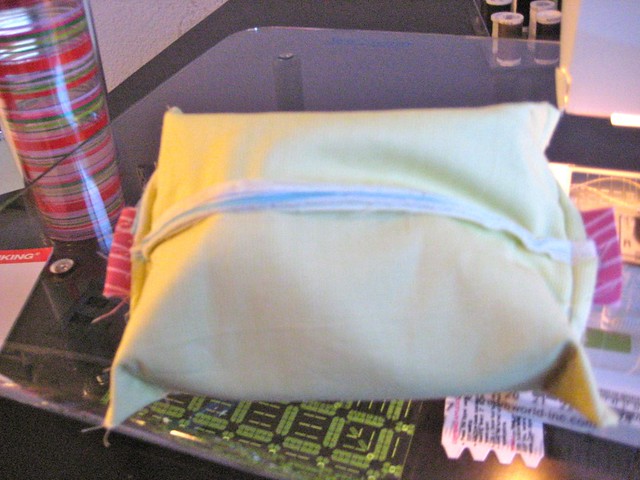
But, I stumbled through and created this:

Oooooh. Ahhhhh.
Pretty fancy, huh? Want to know how I made it? Of course you do!
Materials:

(2) 8" x 6" pieces of fabric for the outside of the pouch
(2) 8" x 6" pieces of fabric for the inside of the pouch
zipper (I had a 22" on hand and just cut it down to size. You will need 6"-8")
Either (2) 8" x 6" pieces of batting or enough scrap batting to cover that area
(2) small scrap of fabric at least 3" x 1.5" for zipper ends (optional)
scraps to decorate pouch (optional)
embroidery floss to decorate pouch (optional)
Heat N Bond
Use 1/4" SA unless otherwise noted.
Directions:
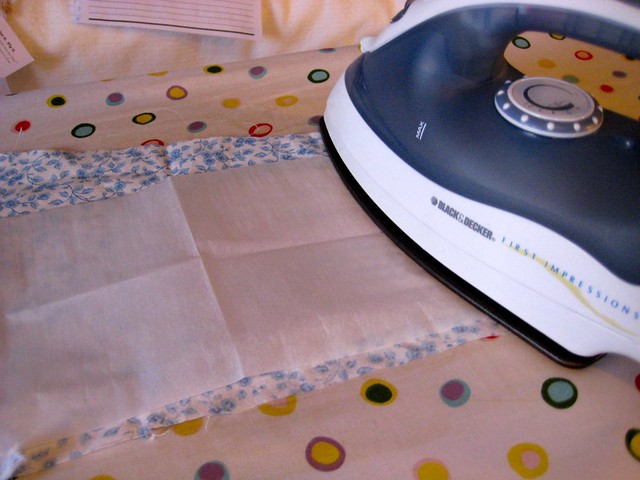
Use Heat N Bond to prepare appliqués for pouch front and back. The flowery material is just to lay on my ironing board because I got some rogue Heat N Bond glue on it a couple projects ago and I don't want it to get on my iron.
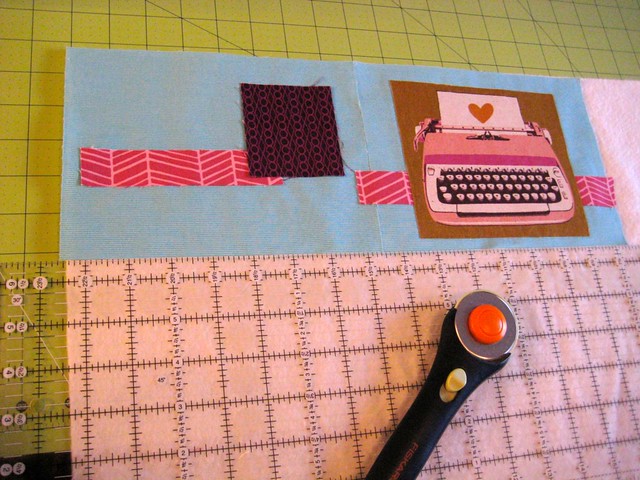
Once your appliqués are adhered to the pieces of fabric that will become the outsides of your pouch, lay out the fronts on the batting to determine the size of batting you will need to cut. If you have pre-cut your batting based on the materials list, you may skip this step.
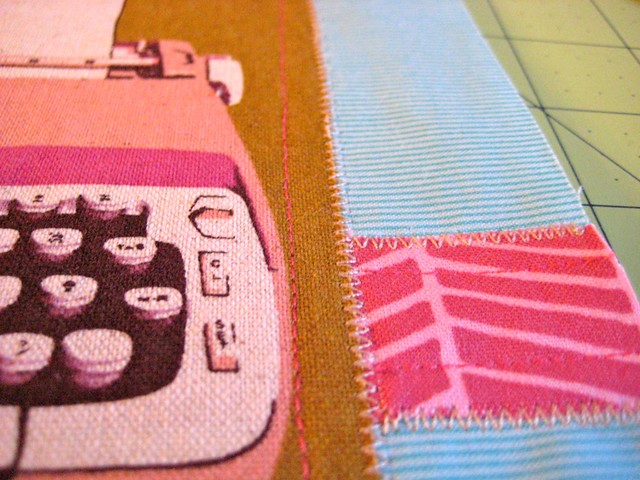
Place one front piece of appliquéd fabric face up on top of one piece of the batting. Stitch down your appliqués. Repeat for the second side. I originally was planning to make these appliqués fray on the ends, hence the 1/4" stitch, but then I decided against it and added a zig zag stitch around the edges of the appliqués. Feel free to stitch them down any way you wish.
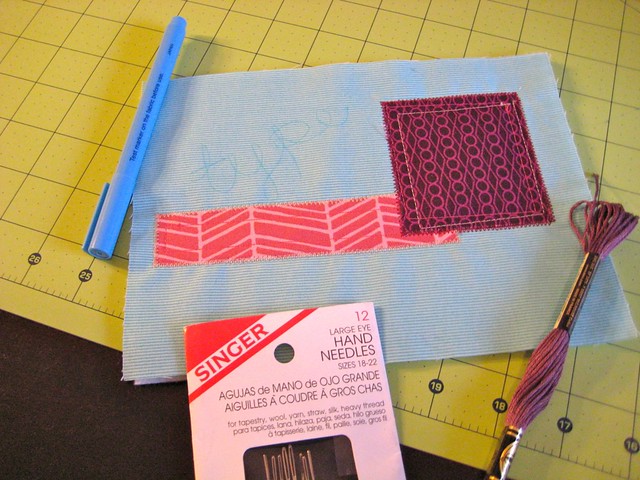
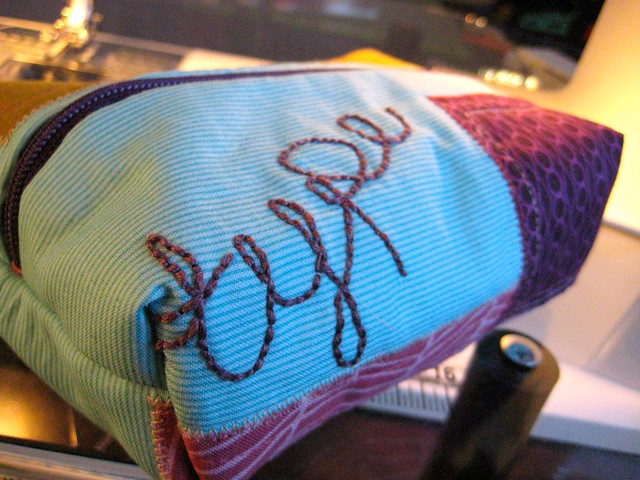
I chose to add a little embroidery to my pouch. I wrote out the word "type" in cursive with a water soluble pen onto my fabric then embroidered the word onto the pouch side, stitching through the batting and the outside fabric. You don't have to do this, but I thought it would add a nice touch.

See?
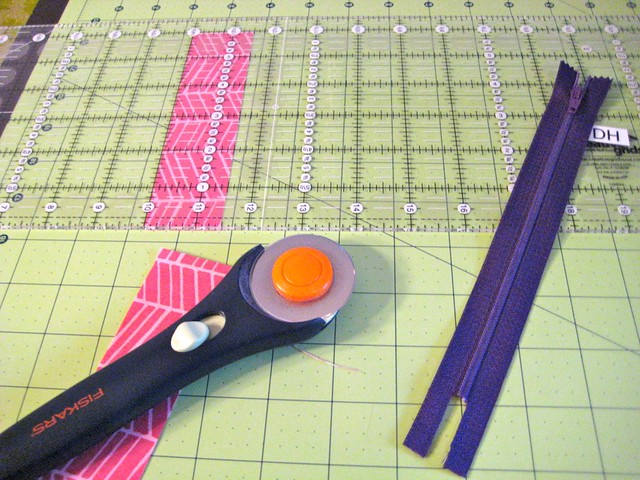
Cut your strip of fabric for the zipper ends. I cut a strip 6" long and 1.5" wide, then cut it in half, giving me (2) strips of 3" x 1.5" fabric. And, as you can see, I have cut down the zipper to the length of the top of my pouch.
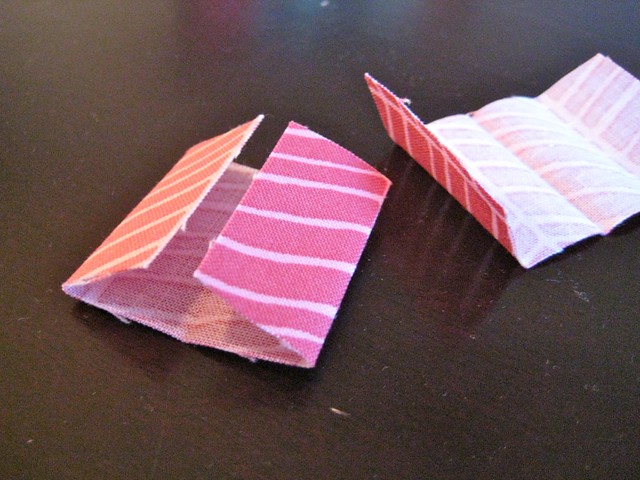
Prepare zipper ends. You don't have to do this part, but I like to have a finished zipper that I know won't fall off one end. I don't know if that's ever happened before to anyone, but my irrational fear isn't hurting anyone. Like I said, I've never done this before, but this is what makes sense in my head. First, you will fold the strip in half, hamburger style, then press. Open it up and bring the edges to the center crease you've just created. Press. You should end up with this nice, double folded taco type thingy. And yes. That IS the technical term.
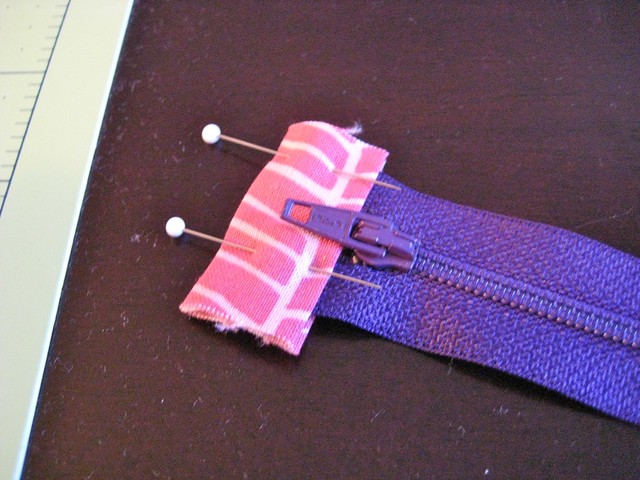
Pin the zipper ends to the... well... zipper ends.
Stitch with a straight stitch to hold in place.
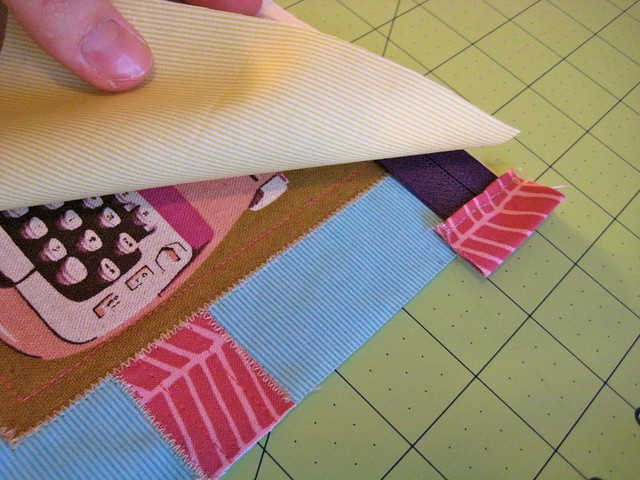
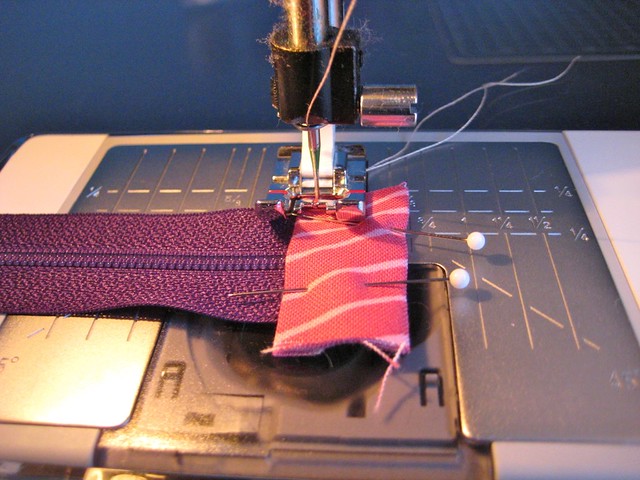
Lay outer layer of pouch face up. Place zipper on top and align zipper with the top edge of the outer layer. Lay inner layer face down on top of zipper, aligning top edge.
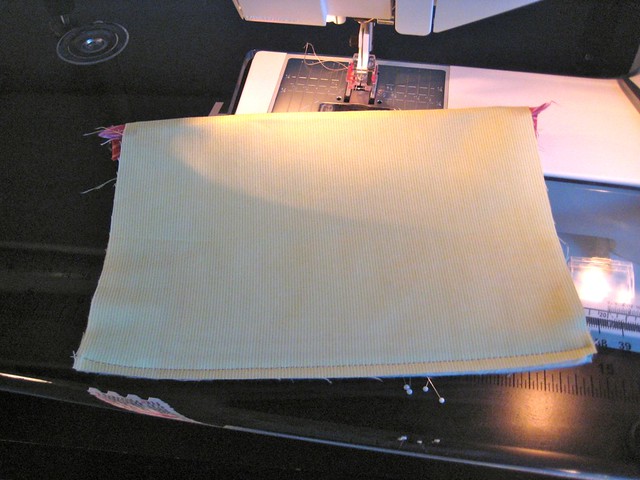
Using your zipper foot, sew a straight line through all pieces of fabric close to zipper teeth. Flip fabric so the outer layer is face down and the inner layer is face up.

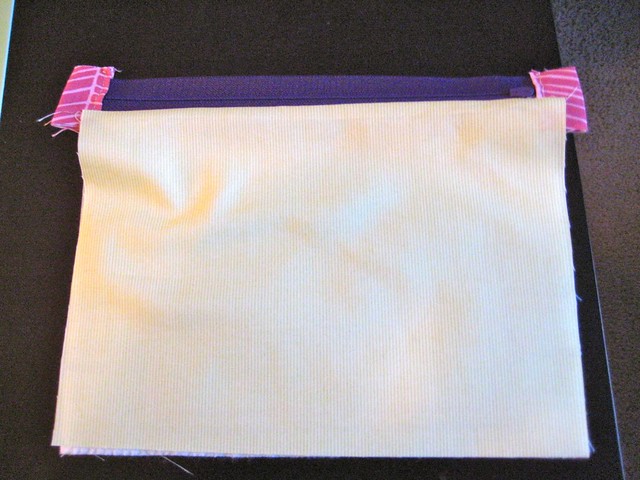
Lay the second outer layer face up. Lay the section with zipper face down, meaning the outer layer attached to the zipper is face down, aligning the zipper edge with the edge of the second outer layer. Then, lay the second inner layer face down on top of the zippered section, aligning the top edge with the edge of the zipper. Make sense? I hope this picture will help you. Sew a straight line close to the zipper teeth.
Unzip the zipper half way. Flip the fabrics so the outer layers have right sides facing and the bottom most layer and top most layer are the inner fabrics. Stitch a straight line through all layers at the bottom.

Align zipper opening with the bottom seam you just created and finger press it flat. Now, sew up those two sides!

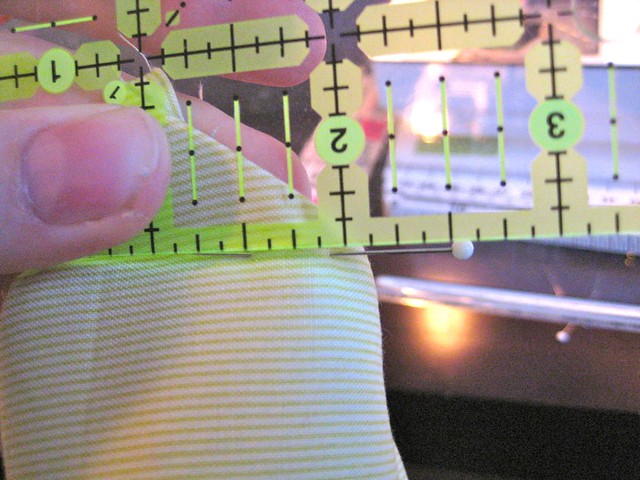
Puff up that pouch and pinch the corners. I pinched about 1" and sewed a seam.
Almost finished! Your pouch should look something like this. Now, cut off those triangles at the corners. Like all my seams, I would suggest leaving 1/4" SA.
Turn that baby right-side-out through the open zipper and VOILA! A beautiful little zippered pouch for you!
I had originally planned to make this a flat pouch, showcasing the side designs, but, this pouch was a practice pouch for my Mouthy Stitches swap and it appears as though my super-duper secret partner would prefer something with a bit more structure, so I decided half way through the pouch to make it boxy. I still think it turned out nice though. For Mouthy Stitches, I'm sure I will make a bigger one, but I like how this one is the perfect purse size. Don't you?
So, on to the {giveaway}!
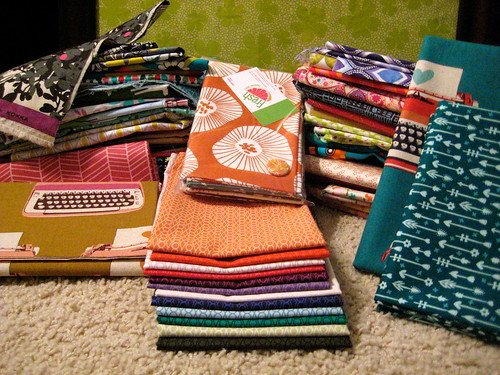
As I mentioned a while back, I want to thank all my followers for being so great! I had planned to get this giveaway together for my 100 follower landmark, but since I'm late, I have a few more bloggy friends who can partake! Here's the haul:

The pouch (of course) jam-packed with all these scraps from recent projects of mine. All the scraps are designer, but they range in size. Some pieces are quite large, while some are smaller. They were all big enough for me to keep, so I hope they are big enough for you to use too! Sorry. I don't have much in the way of scraps, so these will have to do.
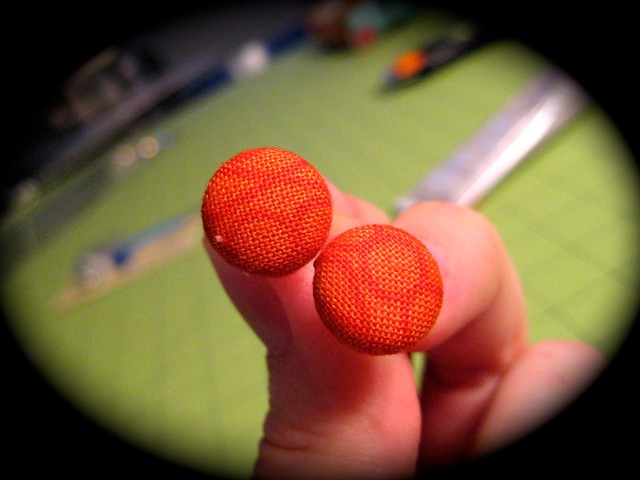
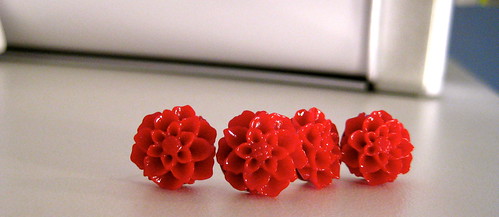
I am also tossing in this pair of covered button earrings I made from Lizzy House Jewels. These are orange. I know the picture is a little difficult to see. I was asked a couple months ago to share a tutorial on making these earrings and I'm just getting to it now... whoops!
So, what do you think? Is this a good haul for a follower giveaway??? I just want you all to know how much I appreciate you. I have met so many great bloggy friends and continue to grow relationships with my followers through email and comments. You guys (and ladies) make my days so much happier!
Here's how to enter:
1. Because this giveaway is to thank all my followers, you must be a follower of mine. If you want a chance to win but you don't currently follow me, start! I love new followers. So for this entry you must be a follower and tell me how you met your best friend. That simple.
2. If you want more chance to win, tell the world! One extra entry each for sharing on Facebook, Twitter, or Pinterest. I'm going to need to check up on this if you are chosen as the winner, so be sure to add a url to your comment directing me to the place(s) you shared. If you share about my giveaway on your blog, you get TWO entries (mostly because I'm partial to blogs!!)
The fine print:
If you are a no-reply blogger, or you don't know if you are a no-reply blogger, please leave your email address in your comment(s). You can spell out 'at' (@) and "dot" (.) if you would like. As long as I have a way to get in touch with you if you win.
I will use Random.org to chose the winner. Since Blogger is messed up and no longer shows numbered comments, I will count very carefully!
Giveaway closes at 12:00 Midnight MST on Friday, 10 February 2012.