


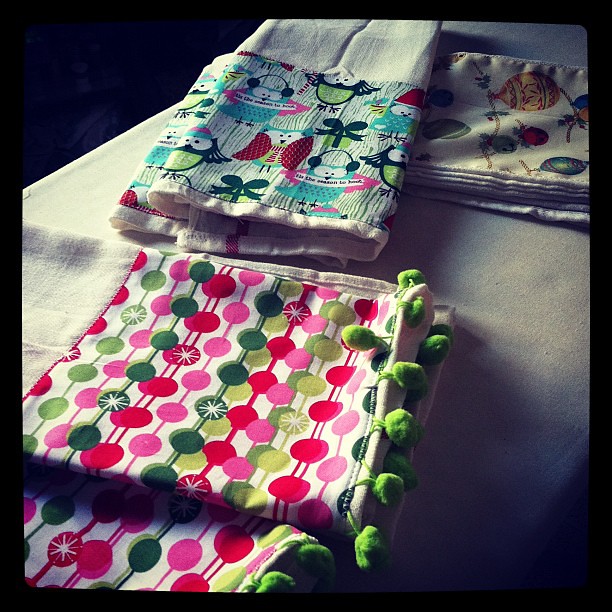
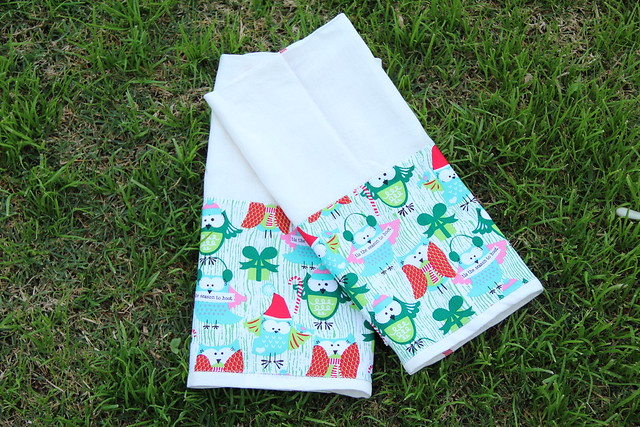
I have had a few requests for a Christmas towel tutorial after I posted this picture on Instagram. There isn't much to these and they are so super pretty, perfect for a quick holiday gift!
Supplies:
- Flour sack dishtowels (I bought some at the local grocery store and at Ikea. I like the ones from Ikea best because they are exactly 1/2 yard wide.)
- Fabric in different Christmas prints
- White thread (I used Aurifil 50wt)
- Pins
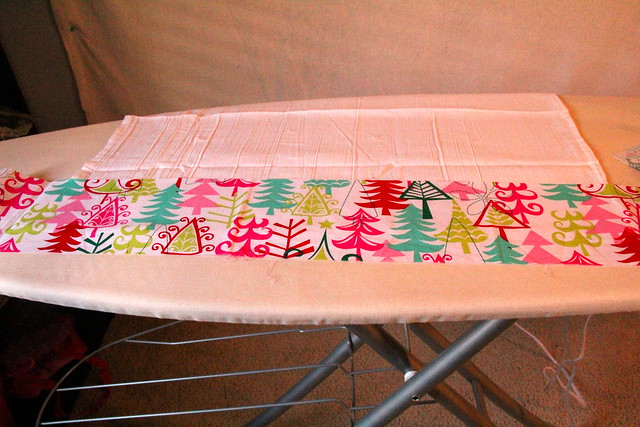
First, measure the width of your dishtowel and add 1/2" to the total. This will give you the width you should cut your fabric. As I mentioned above, I love the Ikea dishtowels because I could use a half yard cut to make the decorated fabric strips. You can then decide how tall you want your decorated fabric to be. I cut mine to about 6".
Press the four sides under 1/4".
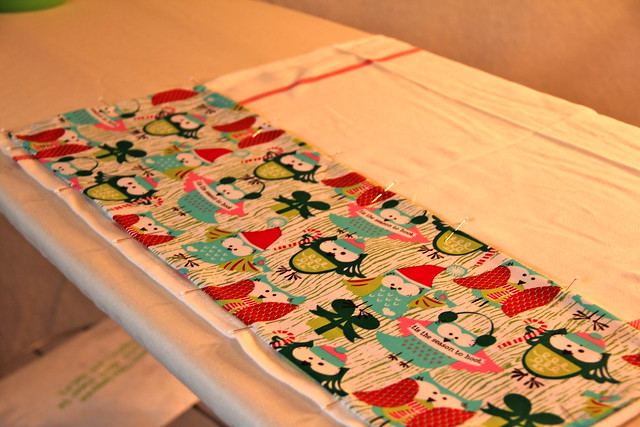
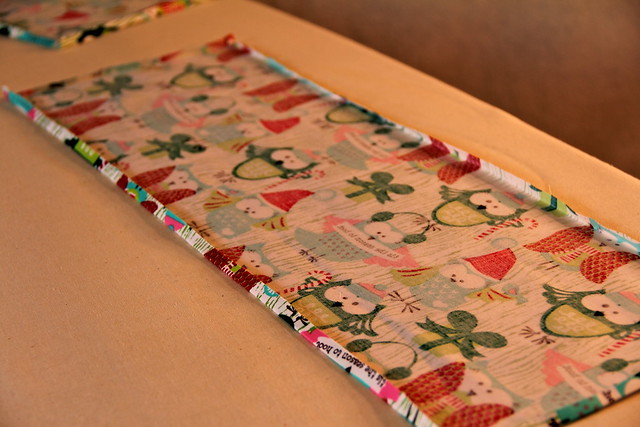
Lay the pressed fabric right side up on the towel. Position it where you would like it to be stitched. I like mine at the bottom of one side. Pin the edges.

Using a zig zag stitch, stitch over the pressed seam with your white thread, making sure to backstitch or knot at the beginning and end.
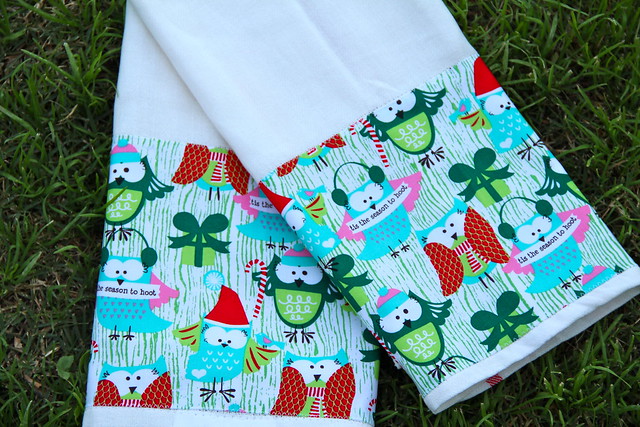
And that's it! Super simple!

Well now I can't wait to get down to Ikea again...aren't those just the cutest things! Thanks! :)
ReplyDeleteWhat a great, quick project! Thanks for sharing.
ReplyDeleteDo you prewash your towels before adding the border?
ReplyDeleteHee hee, love the fabric! Hope Santa delivered, my bonus went shopping in Amazon warehouse for a new PC for me today...
ReplyDelete