Thursday, December 27, 2012

My Home

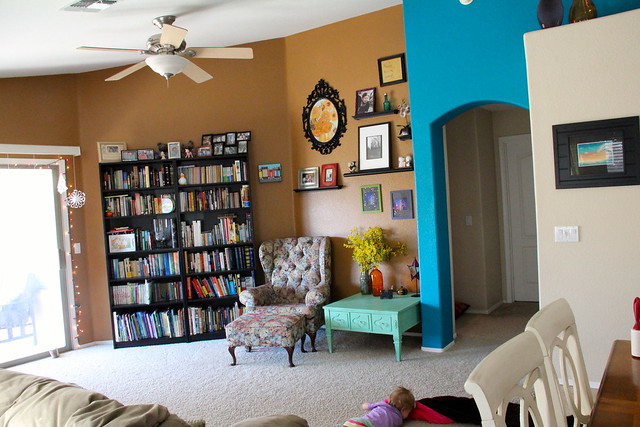
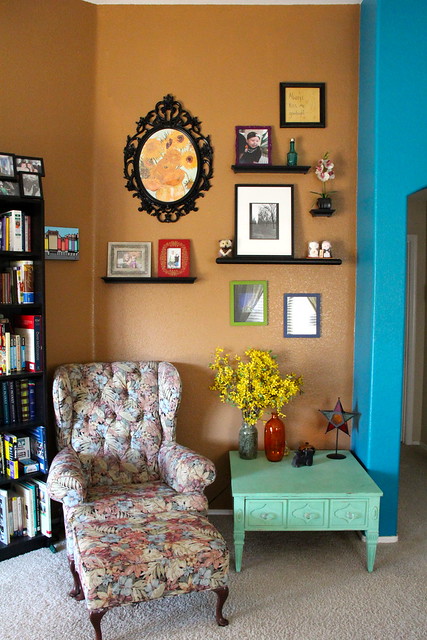
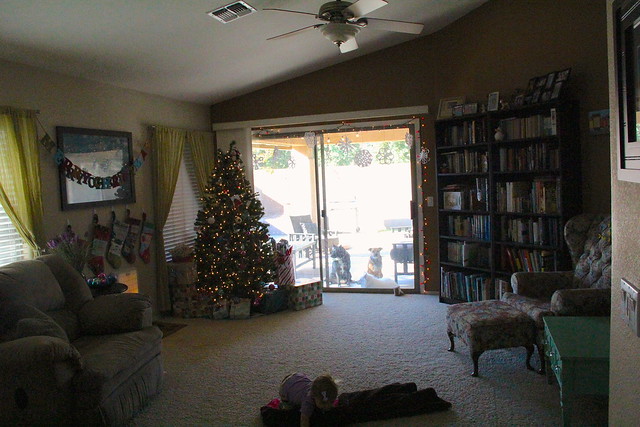
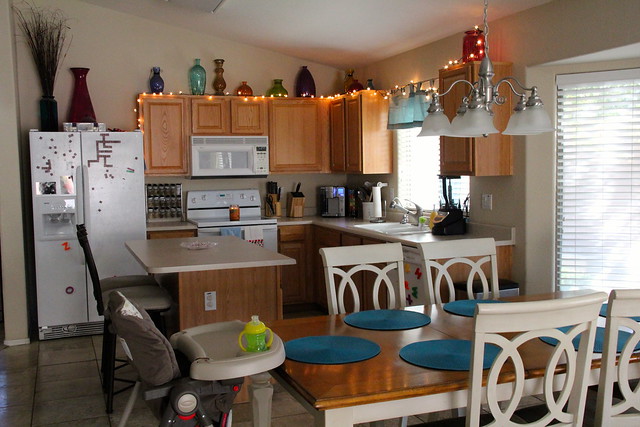
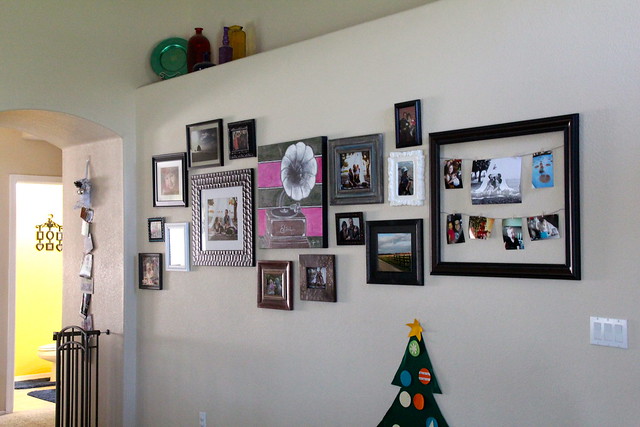
I've had lots of people ask me if I would post pictures of my house and I've always kindly turned them down, mostly because my house is usually such a mess. BUT, we had family over last weekend, forcing me to finally clean my house really well. After we finished cleaning, I thought, "Why not?" So here they are. Pictures of my home. Enjoy being nosy.

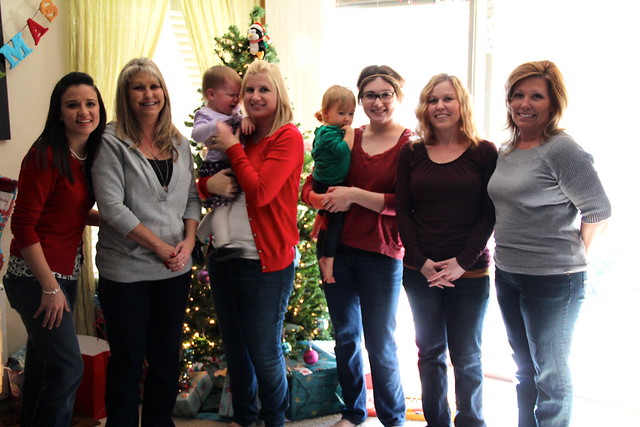
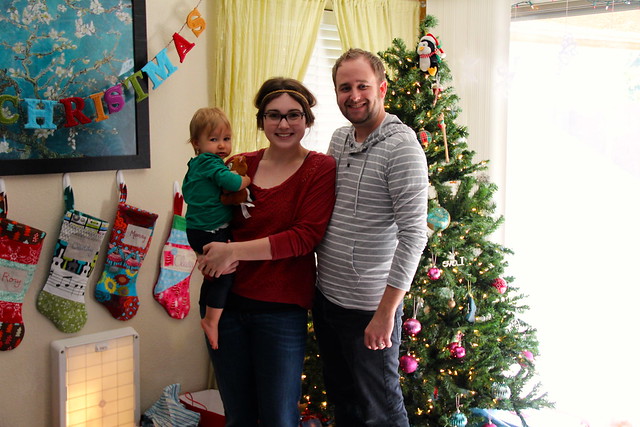
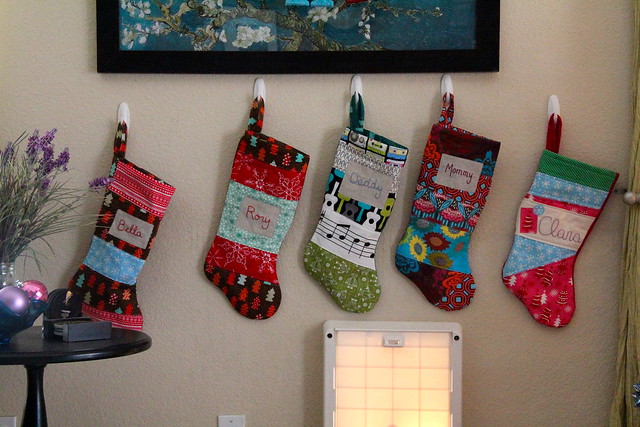
But first, a couple pictures of the family Christmas:

Christmas 2012

Christmas 2012

Sitting room:

Home

Home

Home

Home

Yeah... it's difficult to take pictures facing an open window during the day...

Kitchen:

Home

Living room:

Home

Home

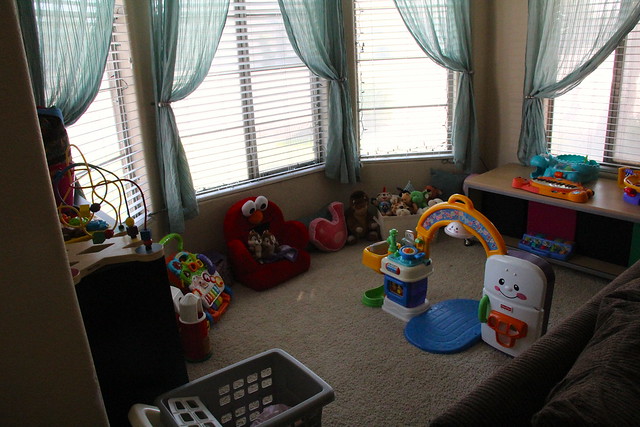
Clara's little toy area is behind the couch and very organized.

Home

Home

Clara followed me from room to room lying around in my line of sight and pretending not to want her picture taken.

Middle Bathroom:

Home

Home

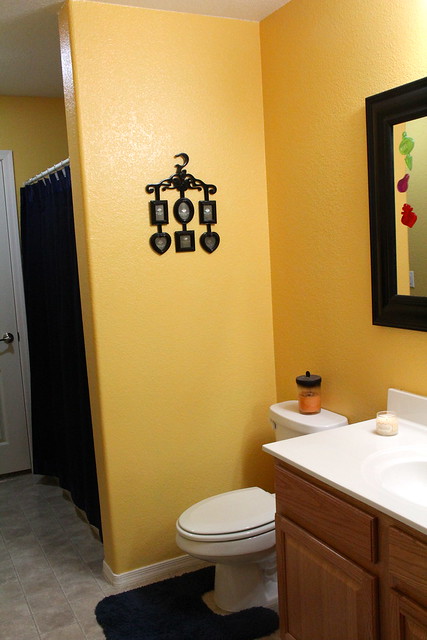
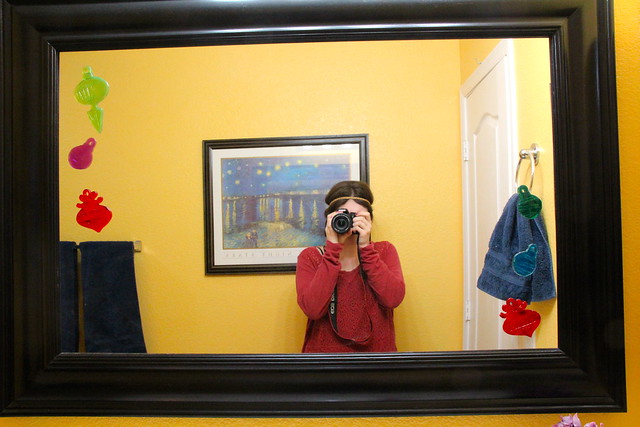
Love navy and yellow.


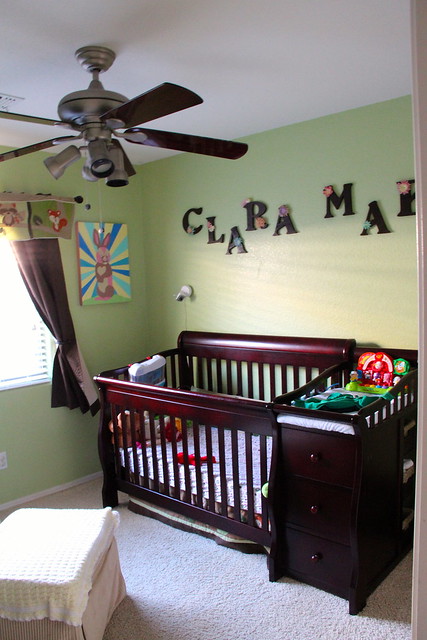
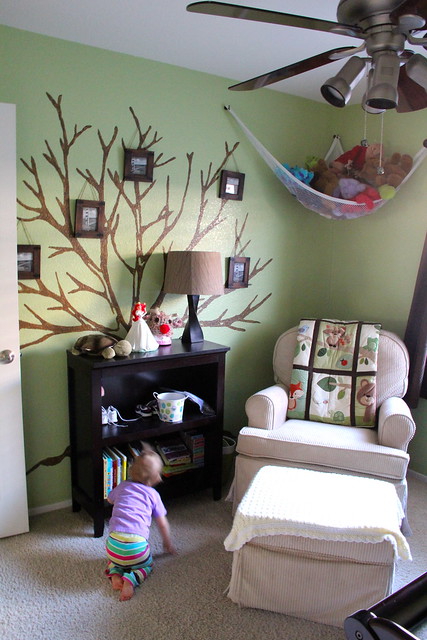
Clara's Room:

Home

Home

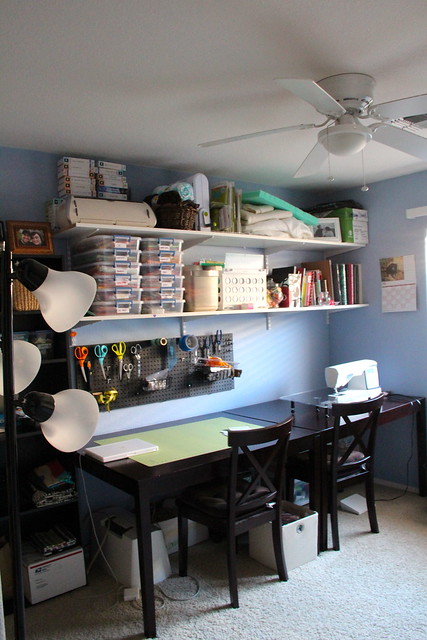
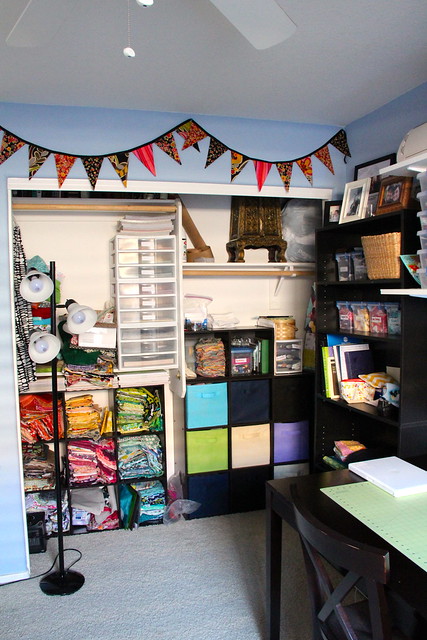
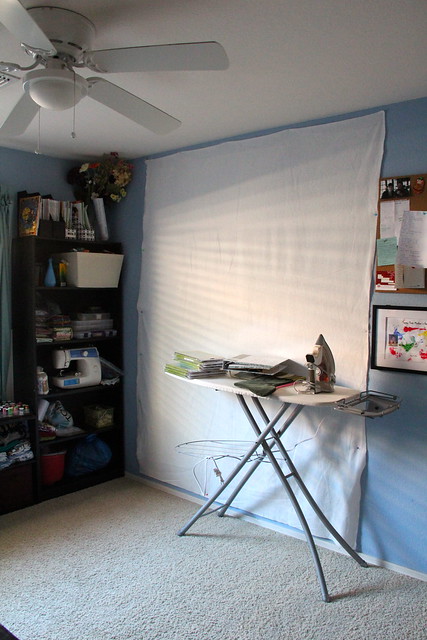
Sewing room (the one you all really care about):

Home

Home

Home

Home

Home

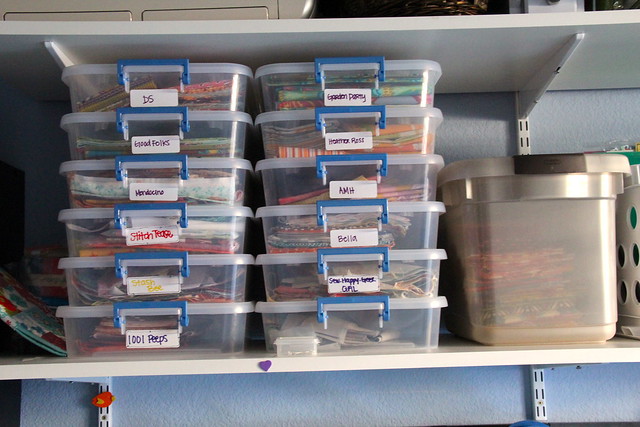
Fabric lines and current projects

Home

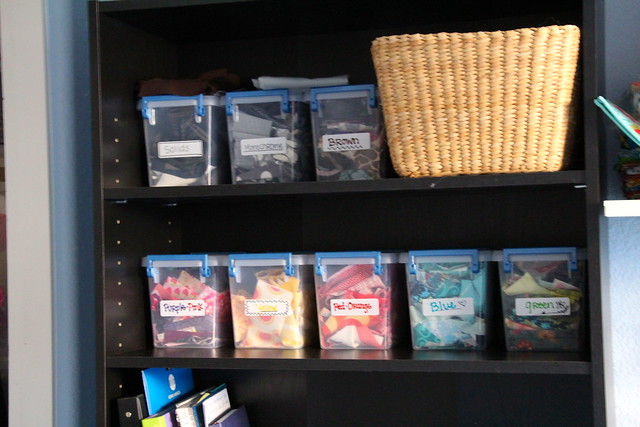
Scraps

Home

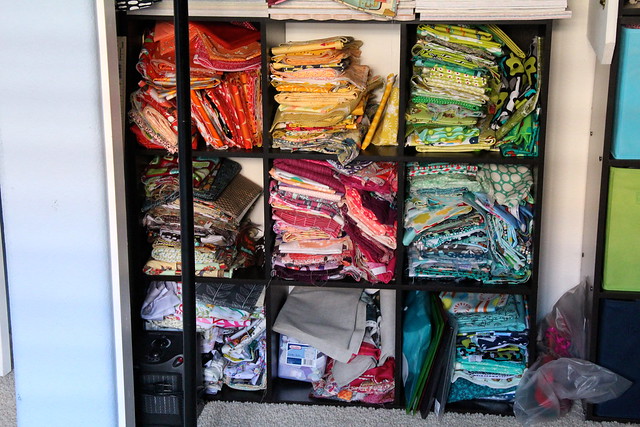
Yardage and large scraps

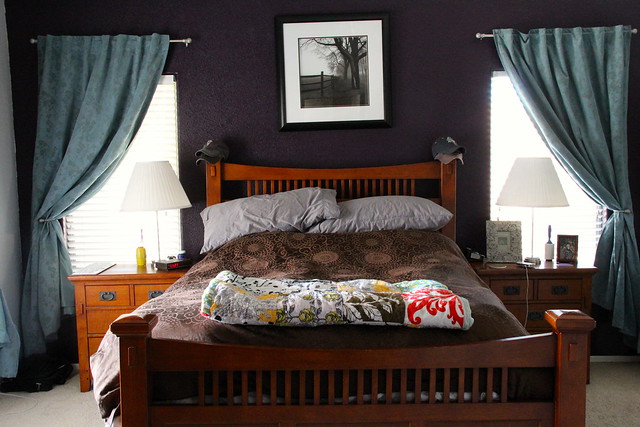
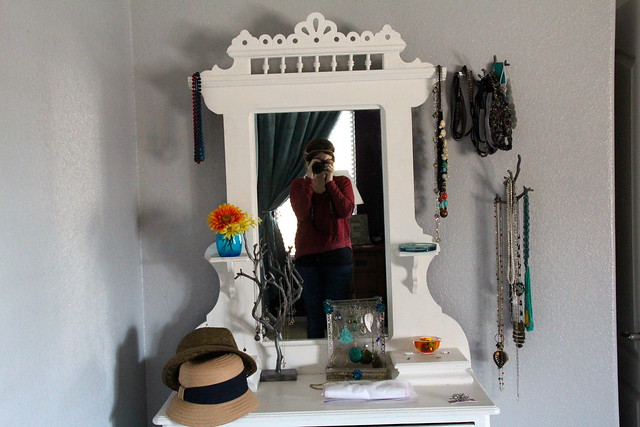
Master:

Home

Home

Obviously not the WHOLE house, but the bits I left out (like my bathroom) really aren't all that great. Trust me.

Hope you enjoyed. I would love to see your homes too!!! (hint, hint. Nudge, nudge.)

Danny

Monday, December 24, 2012

Sunday, December 23, 2012

Dish Towel Tutorial

I have been trying to post this for three days. Fingers crossed Santa brings me a new computer for Christmas!!

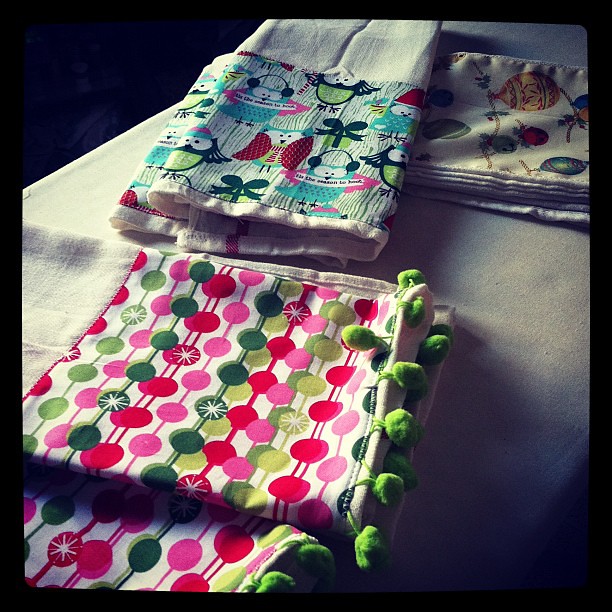
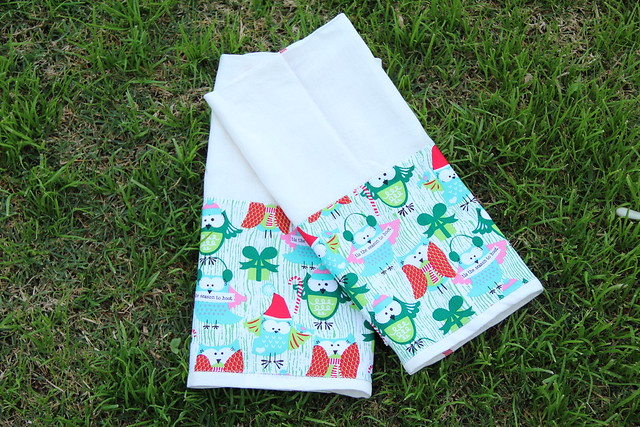
Festive towels! #projectchristmasfy

I have had a few requests for a Christmas towel tutorial after I posted this picture on Instagram. There isn't much to these and they are so super pretty, perfect for a quick holiday gift!

Supplies:

- Flour sack dishtowels (I bought some at the local grocery store and at Ikea. I like the ones from Ikea best because they are exactly 1/2 yard wide.)
- Fabric in different Christmas prints
- White thread (I used Aurifil 50wt)
- Pins

Layout design

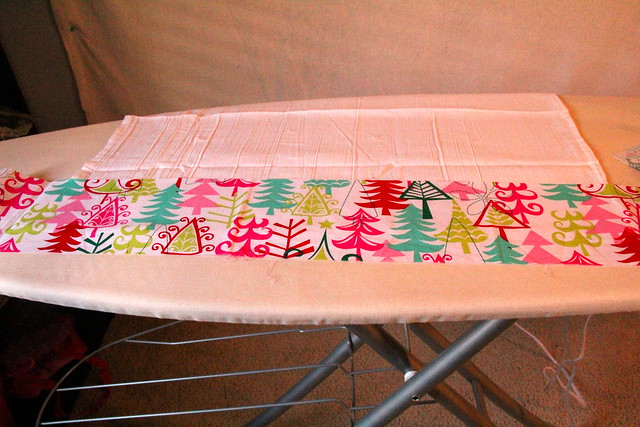
First, measure the width of your dishtowel and add 1/2" to the total. This will give you the width you should cut your fabric. As I mentioned above, I love the Ikea dishtowels because I could use a half yard cut to make the decorated fabric strips. You can then decide how tall you want your decorated fabric to be. I cut mine to about 6".

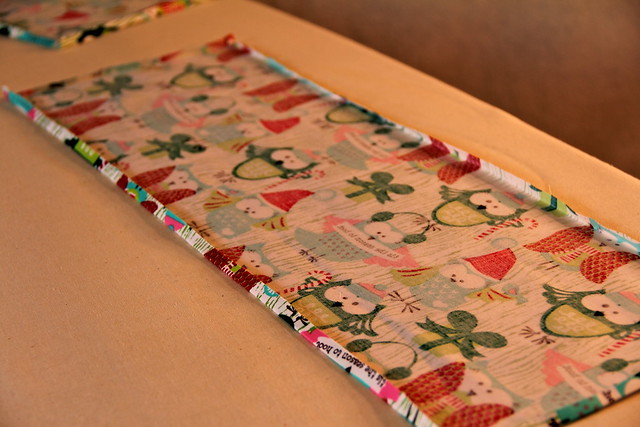
Press SA

Press the four sides under 1/4".

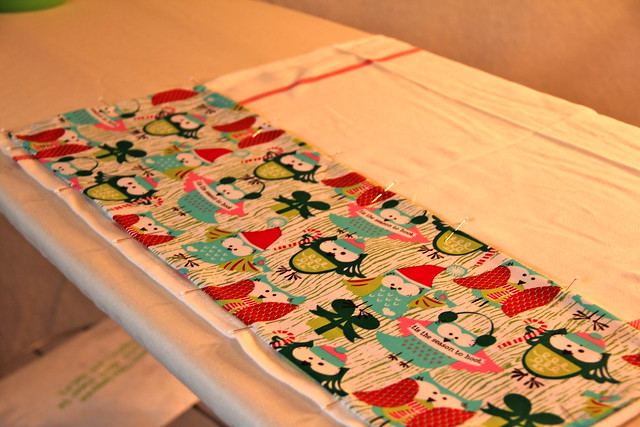
Pin

Lay the pressed fabric right side up on the towel. Position it where you would like it to be stitched. I like mine at the bottom of one side. Pin the edges.

Zig zag stitch

Using a zig zag stitch, stitch over the pressed seam with your white thread, making sure to backstitch or knot at the beginning and end.

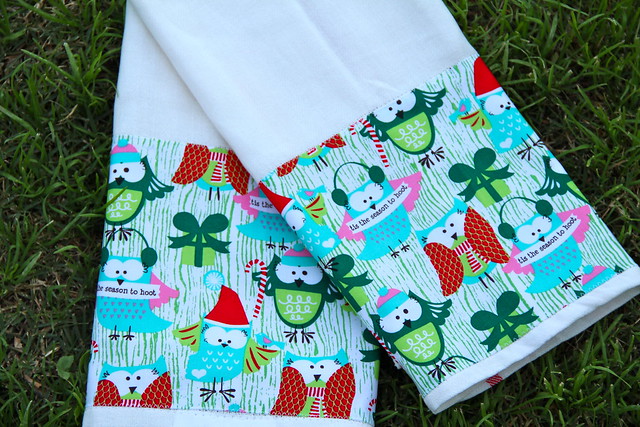
Erika Towels Close Up

Erika Towels

And that's it! Super simple!

Danny

Wednesday, December 19, 2012

Christmas Gifts

I have been burning the midnight oil most nights trying to get my Christmas gifts finished up before they need to be delivered. I'm sure some of you are in the same boat and can understand my silence on the blog. Thankfully, some of my gifts have already been delivered, giving me a chance to share with you what I've been making!

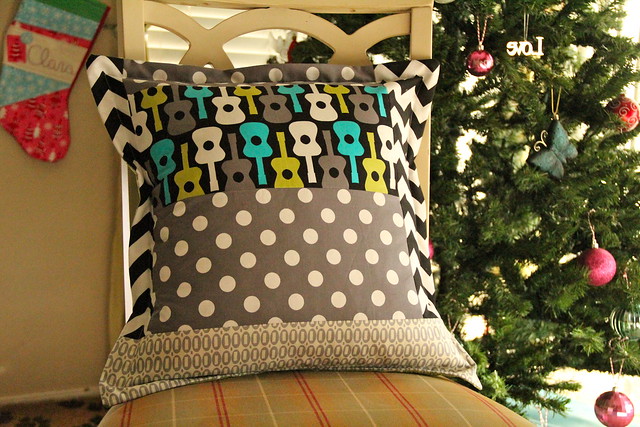
Zak Pillow

Confession: This was my very first pillow cover! I know! Crazy, right? I made a couple more and have grand plans to create a whole pillow conservatory in my living room in the near future! This pillow is for Zak, a family friend. He has all the toys in the world, so I thought I would make him something special this year.

Reagan's Stocking

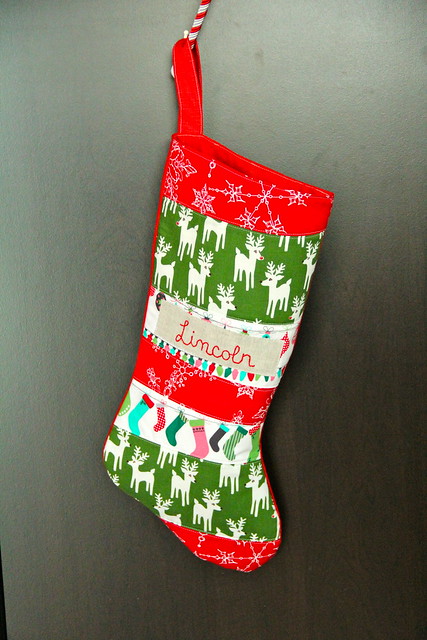
Lincoln's Stocking

These stockings were actually commissioned. So, while I made them for Christmas this year, I was paid for them. They turned out beautifully! I'm working on finishing up four more for my family before Santa comes to fill them with goodies!

Haley Tote

Tote bag for a girl I tutor. She liked this print.

Erika Towels

Erika Towels Close Up

I've made tons of these this season, some as gifts and some commissioned. They are super simple and practical and add just the right amount of holiday cheer to the kitchen!

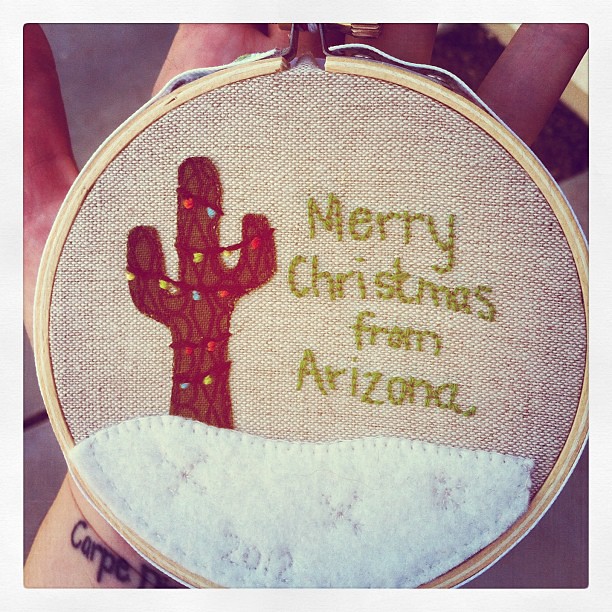
Secret Santa #projectchristmasfy

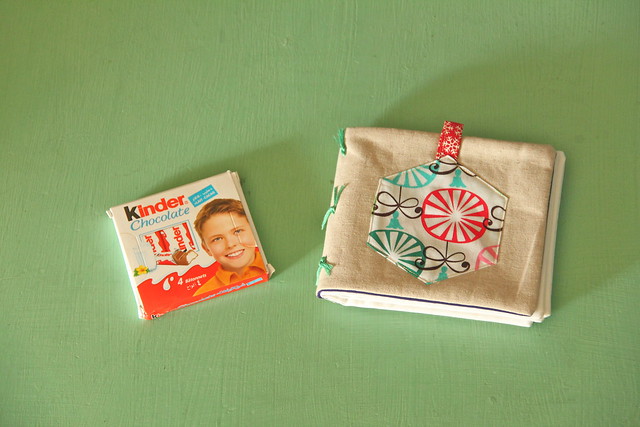
This little number is a hoop ornament I made for my lovely friend Dianne. We did a Secret Santa swap among the members of our little Stitch Tease Bee. Miss Annabella made me a lovely gift for my little Clara-roo!

From Annabella Secret Santa

An appliqued cloth Christmas book! The chocolate was melted so I was forced to eat it all immediately upon opening the package. I licked the wrapper clean to avoid any future messes too. This is the empty box meant only as a photo prop (and to make you all jealous, of course!)

And then there was this:

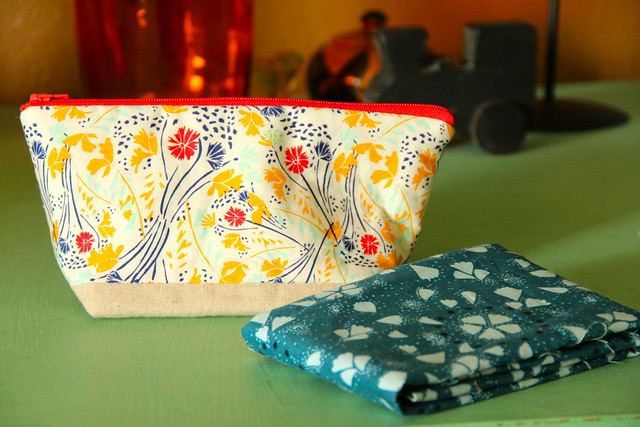
From Alyssa

Alyssa made me this great zipper pouch and threw in a chunk of one of my favorite AMH prints ever! She knows me so well. I'm spoiled!

I'm hoping to find time to share more of my Christmas makes once they are in the hands of their rightful owners, but this should have at least given you a glimpse into all the pretties I've been working with this past few weeks.

Danny

Thursday, December 6, 2012

Christmas Ornament and Yarn Ball Wreath Tutorial

Title

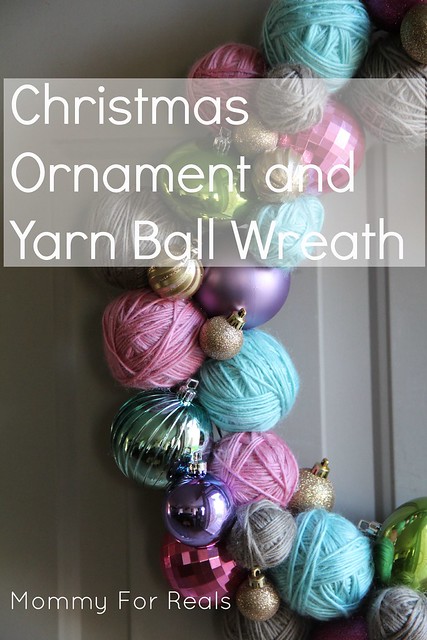
Last year I came across this image on Pinterest and immediately pinned it:


I fell in love. I mean, how could you not?! This is a gorgeous wreath. I knew I had to make one, so I raided the after Christmas sales last year stocking up on the supplies I needed to make this beauty.

Then this year, I pulled my Christmas decorations from the attic and rediscovered the things I had purchased to make this beast! And, since I'm on a handmade Christmas kick anyways with my #projectchristmasfy, I decided I needed to put this project on the short list of ones to finish this holiday season.

Supplies

Supplies:

- various size styrofoam balls
- a few skeins of yarn
- Christmas ornaments (I chose shatterproof since I have a mischievous toddler)
- hot glue gun/glue
- straight pins
- wire wreath form
- scissors

I started with the yarn balls since they needed to be prepped before I could begin construction of the wreath.

Beginning of yarn balls

Tie a knot in the end of your yarn and pin through the knot into the styrofoam ball. This will hold your yarn in place as you begin wrapping it around the styrofoam ball. When you have covered the ball completely, press an additional pin through the yarn strand before you cut the yarn away from the ball. This will hold your yarn in place so it will not unravel before you have time to glue it to the wreath.
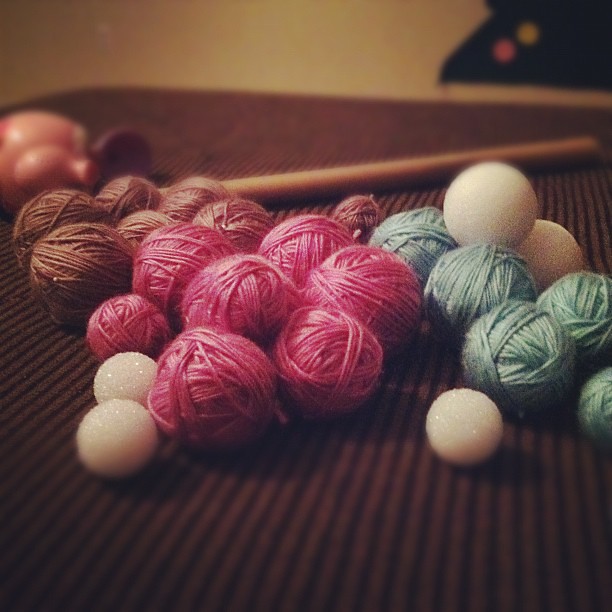
Making yarn balls and watching Pretty Little Liars while listening to Clara's bedtime protests. Oh the joys of motherhood.

I wrapped all these while sitting on the couch catching up on Season 2 of Pretty Little Liars. It's fairly mindless work, but time consuming.

Don't you just love how yellow my pictures are when I'm working the midnight oil?? :)

After I finished watching my show and searched the internet for Season 3 episodes, which I didn't find, BTDubs, I went to bed. The following pictures are morning afternoon shots so they should be much easier to see.
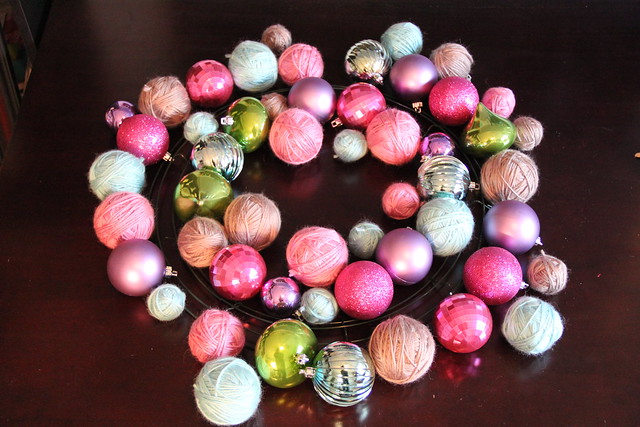
Layout

Lay out your form and the ornaments/yarn balls around it. It's good to have an idea of where you will be placing your balls (o.O) before you start gluing. It would be terrible to realize you've run out of all the pink ones before you even get half way around your wreath form!
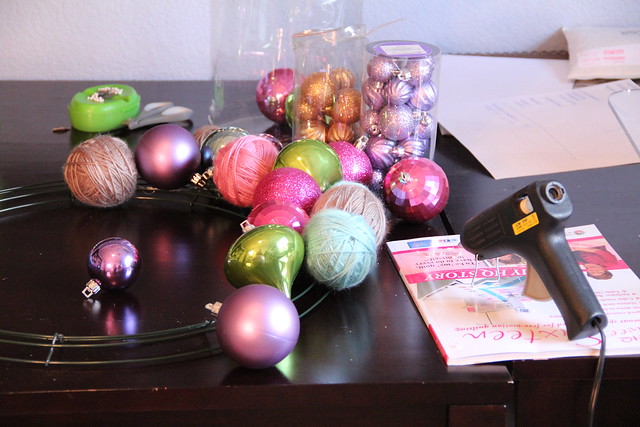
Begin

Begin gluing your LARGE ornaments/balls in place, working your way around the wreath form. Make sure you glue the yarn balls with the exposed pin facing toward the wreath form. Don't worry about covering every little inch of the form. You will go back and fill in with the smaller ones momentarily. Make sure you designate the top of the wreath at this point. I just left the top of mine sparse so I could maneuver the wreath hook around the exposed wire. You may want to add a ribbon or twine. Something to hang the wreath with when you finish.
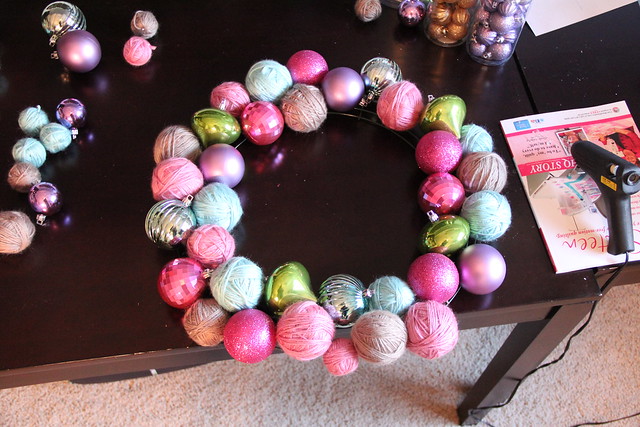
Progress

Once you've finished placing and gluing all your large ornaments/balls, carefully turn your wreath form over; face down.

Stabilize

As you will see, many of your ornaments have not adhered to the form completely. As you add more, they pull away. This is the moment where you will reinforce your work. Apply more glue to the ornaments where they touch the form. Carefully squeeze the glue gun between ornaments applying small amounts of glue to hold the ornaments to each other as well as the form. Continue all the way around the form. I chose a metal wire form because there were gaps that allowed for the curvature of the ornaments. I fear a solid foam or plastic wreath form may not be quite as forgiving, but if you choose to use one of the latter, please let me know. I'd love to hear how it works!
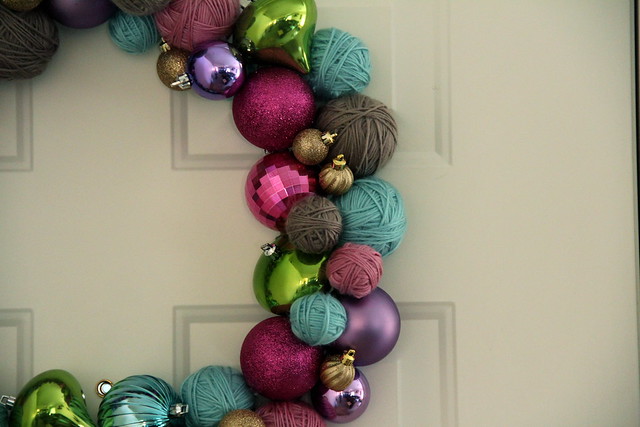
Close Up

Once the hot glue has cooled, turn the wreath back over so the front is facing up and apply the smaller ornaments/yarn balls to fill in any gaps and cracks. Layer them. It's ok if you can only see a small part of an ornament shoved underneath another if it is providing cover for the form. You aren't going to want to see the form.
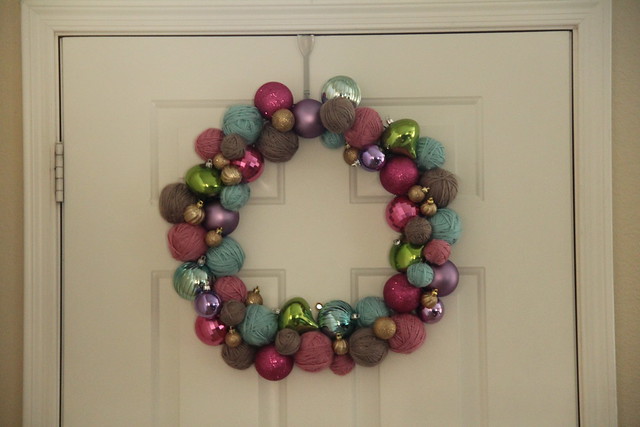
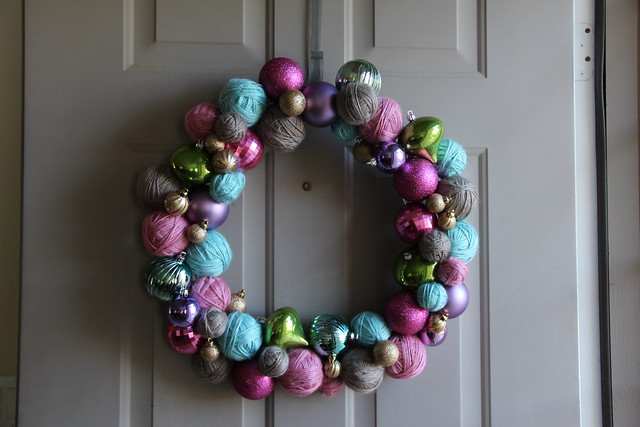
Finished

Now hang it up and enjoy!

Finished

I hung it on my front door when I finished, but I think I'll bring it in. I don't have to worry about the weather here in Arizona (it probably won't rain until February) but I worry it might get stolen!!

How's that for modesty? :)

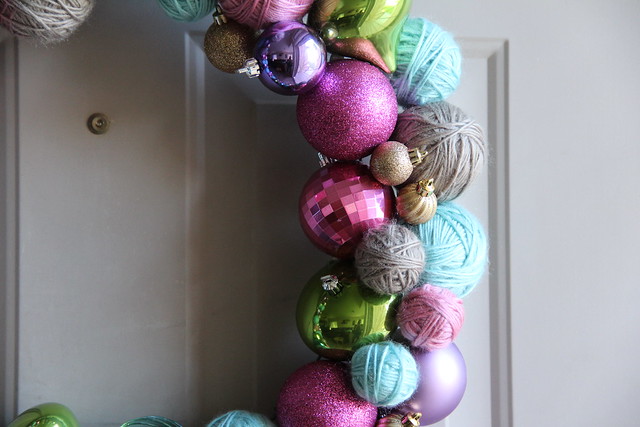
Close Up

Close Up

A very easy make whose outcome I am super happy with!

And, as always, if you make something using one of my tutorials, please post it to the Mommy For Reals Flickr page. I would love to see your work!

Danny
Related Posts Plugin